Raspberry Pi’s new 64MP camera in 2022
The new 64MP Pi Hawk-eye Camera from ArduCam brings phone-style resolution to Raspberry Pi cameras for the first time. And thanks to modern bonuses like autofocus and digital zoom, it could be a solid centerpiece for a unique, homemade camera that takes photos that are good, but not too good.
To be fair, I’ve got a little too over-excited about Raspberry Pi projects before. During lockdown, I bought a Raspberry Pi 4 Model B with a HyperPixel square screen, with the grand aim of building a Sonos Album Art display. Despite having countless hours at home to complete it, I got a tad distracted by playing Overcooked and A Way Out on PlayStation.
But this new 64MP camera has once again fired my imagination, to the point where I can actually see myself completing a Raspberry Pi project. It’s been possible to make Pi-based cameras before, but the Pi Camera Module V2 is an 8MP affair with a fixed focus lens and the High-Quality Camera Module always seemed a bit too involved.
The new Pi Hawk-eye Camera is about the same size as those earlier cameras, which is convenient. That does also mean that image quality at the full 64MP resolution (which is only available if you hook it up to a Pi Model 4B or Pi Compute Module 4) could even be a little worse than Raspberry Pi’s earlier cameras. But ArduCam’s sample images look decent and the appeal is really modern features like autofocus, which should mean I won’t be fiddling with things like focus drift.
Setting up the new 64MP camera should also be (relatively) straightforward, despite my newbie status, because it runs on the same ‘libcamera’ software as Raspberry Pi’s previous two camera modules. If you’ve previously tried projects with the latter, you can also use the Camera Module V1/V2 enclosures with this new one.
The real fun (and possibly my undoing), though, will be creating a case for this custom 64MP camera…
Rise of the anti-smartphone

Realistically, I’d probably take the easy route and get a pre-made camera case to house the Raspberry Pi, 64MP camera and battery. ArduCam makes a ‘Pan & Tilt kit’ to go with its new autofocus camera, but there are more interesting possibilities on the Raspberry Pi store that should theoretically be compatible.
There’s the standard Raspberry Pi 4 camera case, but one that’s particularly caught my eye in the past is the weatherproof NatureBytes Wildlife Camera Case. It has an infrared lens for detecting motion, making it a neat wildlife cam to set up in the garden – if you buy the other parts, including an SD card and flash drive.
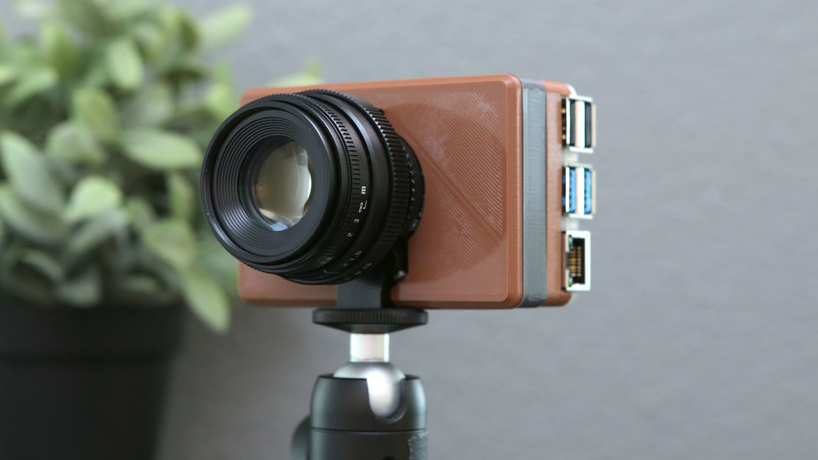
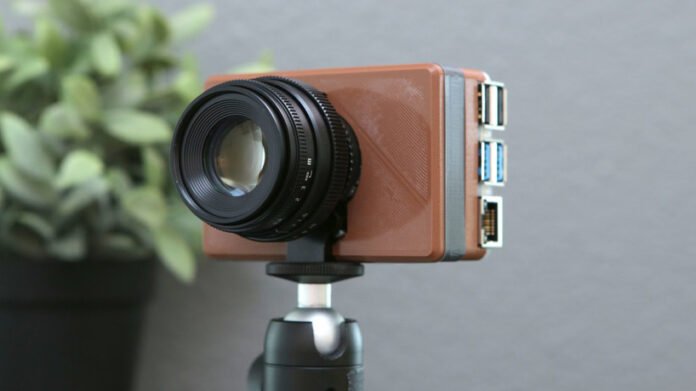
But the real dream, and one that is genuinely more interesting than my iPhone camera, is custom 3D-printed case. That could turn the Pi Hawk-eye Camera into a unique point-and-shoot, albeit one with a few more quirks than your average smartphone.
There’s no doubt my iPhone is the best point-and-shoot camera I’ve ever owned, but the soulless perfection of its algorithms has, if anything, only fanned the demand for more quirky, imperfect photographic sidekicks. The best instant cameras have never been more popular, for example, while Lomography continues to serve up some charming concoctions.
But none of those could match the satisfaction of building my own digital camera, and that’s never been more attainable thanks to the Raspberry Pi and modules like this new 64MP Pi Hawk-eye Camera. Perhaps I would ultimately opt for Raspberry Pi’s earlier High-Quality Camera Module instead, thanks to its built-in lens mount and the availability of rather fetching cases like the Raspberry Pi HQ Camera Case (above).
Either way, there’s no real excuse to not finally start (and finish) the Raspberry Pi project I’ve been pondering – after I’ve finished my Sonos Album Art Display, of course.


